If you aren’t a brand-new yogi, you have already heard about the revitalizing power of inverted positions.
Inversions improve blood circulation, help deliver more oxygen to the brain, and stimulate the nervous system. Excess hair growth and glowing skin, plus hundreds of likes on your Instagram – are only a few things you get being able to stay upside down.
Partially, these reasons encourage most yoga enthusiasts to jump faster into various hand- and headstands. Still, as with all yoga postures, inversions cannot be executed without proper alignment and preparation. Remember – yoga is not a goal; it’s a path. So, in today’s article, we will take some steps to understand how to approach the inverted position, what you need for this, how long it takes to get ready for it, and how not to break a neck.
Why Do We Do Inversions in Yoga?
The simple answer to this is to be healthier and live longer. A closer look into the body’s biomechanics and processes makes you see that inversions provide some incredible outcomes.
Stay in Charge of Your Nervous System
With upside-down poses integrated into your daily routine, you can regulate your nervous system and keep it balanced. How? Doing active warming up inversions, like forearm balances or headstands, activates your sympathetic nervous system. The whole body gets ready for active physical and mental actions: heart rate raises, organs get more blood with nutrients, digestion speeds up, etc.
At the same time, calming inversions (Bridge pose, Legs up the wall pose) turn on the parasympathetic part of your nervous system. They slow down the heart rate and help to calm down and recover. So just pick the inversion of the day and go for it. It’s really that simple.
Beat the Gravity
Earth’s gravity helps us walk, sit and be strong. Still, its killing effect is not that obvious. The older you are, the more your skin, with its subcutaneous fat, vessels, capillaries, sags. The heart needs more and more effort to pump the blood to nourish all the systems, including the brain. Vessels become less flexible and prone to blood clots in the lower extremities and pelvis. To defeat yourself from all of these, turn your organism upside down.
Staying inverted for 3-5 minutes leads to better venous return and improved exchange of nutrients and wastes in the cell membranes. This also gives your heart a break and prevents blood clots. Thus, you turn gravity into a power that makes you healthier and younger.
Boost Your Confidence
Inversions are great self-esteem boosters. From the moment you made it, you can remind yourself of how strong and persistent you are. And that relates not only to the things going on in a yoga class.
Shift the Perception
With time, your body and neurons adjust to all standing balances, like Triangle pose or Warrior III. Maybe you even feel bored doing your regular sessions. So, adding and advancing inversions changes dull routines and invites your inner child to have fun.
Plus, inversion is a great way to challenge your movement patterns and make your body develop creative ways to adjust to a new position.
How to Prepare for Inversions?
Advanced inversion is something you need to work for, not only wish for. Is there a chance to get ready for inversions? Well, physically – yes! Mentally? It depends!
Your instructor’s call to get into one of the upended poses won’t leave you indifferent. The typical students’ reactions range from trembling in fear to excitement. You may not be 100% ready to go upside-down, but some basic preparations would ease the process. They are:
- Learn how to get in and out of the pose: an injury can hit you when you transit between the positions. So be sure to know a few safe ways to get in and out, use props for support and supervision of the instructor.
- Build strength in the upper body, core, and shoulders: Boat and Plank poses are great options. Invest some time and effort to develop the shoulders’ stability and flexibility.
- Get some balancing skills for your body and clear your mind. Start with the Tree pose and move to practice Warrior and its variations until you feel confident in them.
- Remember to breathe!
Depending on your fitness level, the above can take from 2-4 weeks to 2 months and more. Once you’ve got it done, proceed to simple inversions.
Why Yoga Is Good? 5 Unique Yoga Benefits Proved with Your Anatomy
After that, the next step is to build the way forward to advanced ones. Include inversions preps into your practice not less than 2-3 times a week. But remember to mix it with restorative poses and days off so your body has time to rest. Below is a good sequence to prepare for complex inversions:
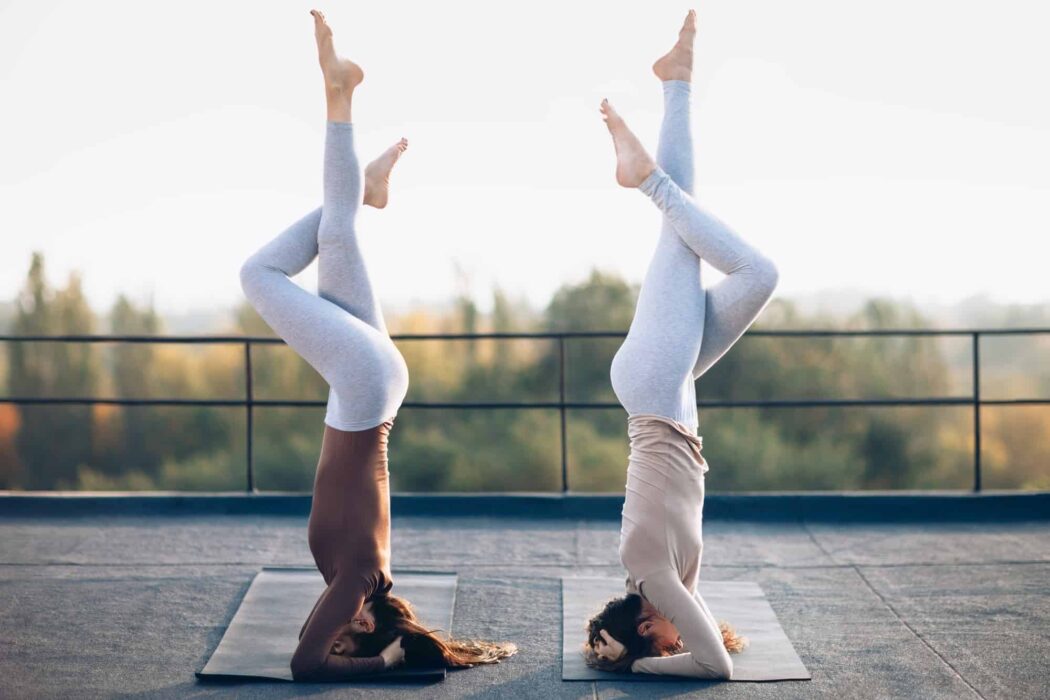
What Are the Inversion Poses?
You may be surprised if I say you’ve already been practicing inversions without knowing it. How come? In yoga, inversion – is a position in which your heart is lower than your pelvis. And that includes not only standing on your head or hands with your legs in the air.
5 Beginners’ Yoga Inversions to Try
Below I’ve listed some beginner-friendly inversions that are pretty harmless to practice. The intensity increases gradually till the end of the list.
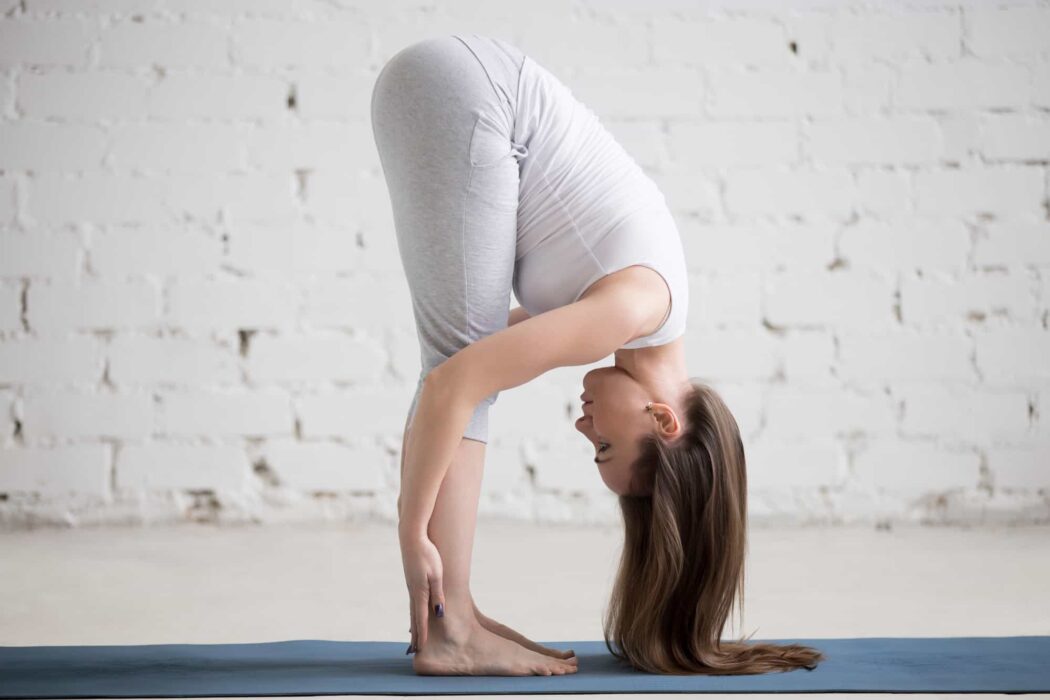
Standing Forward Fold
A safe pose for new yogis. I bet you’ve practiced it already as a part of the Sun Salutation sequence. To improve the alignment, shift the weight of your body to the front, pointing your sitting bones up in the air. Let your mind and body get used to the unusual position.
Downward Facing Dog
Is Downward Dog an inversion? Yes, of course!
Yeah, you’ve heard it right! This pose is actually an inversion. With your tailbone in the air, your heart is closer to the floor than your pelvis. To deepen the pose, try to get your head lower than your heart: invite your core and arms to work harder in this pose.
Bridge pose
Bridge pose is known as a prep for backbends but it is also considered an inversion pose. It’s safer for your neck and it can be practiced even if you have a neck injury (but under supervision).
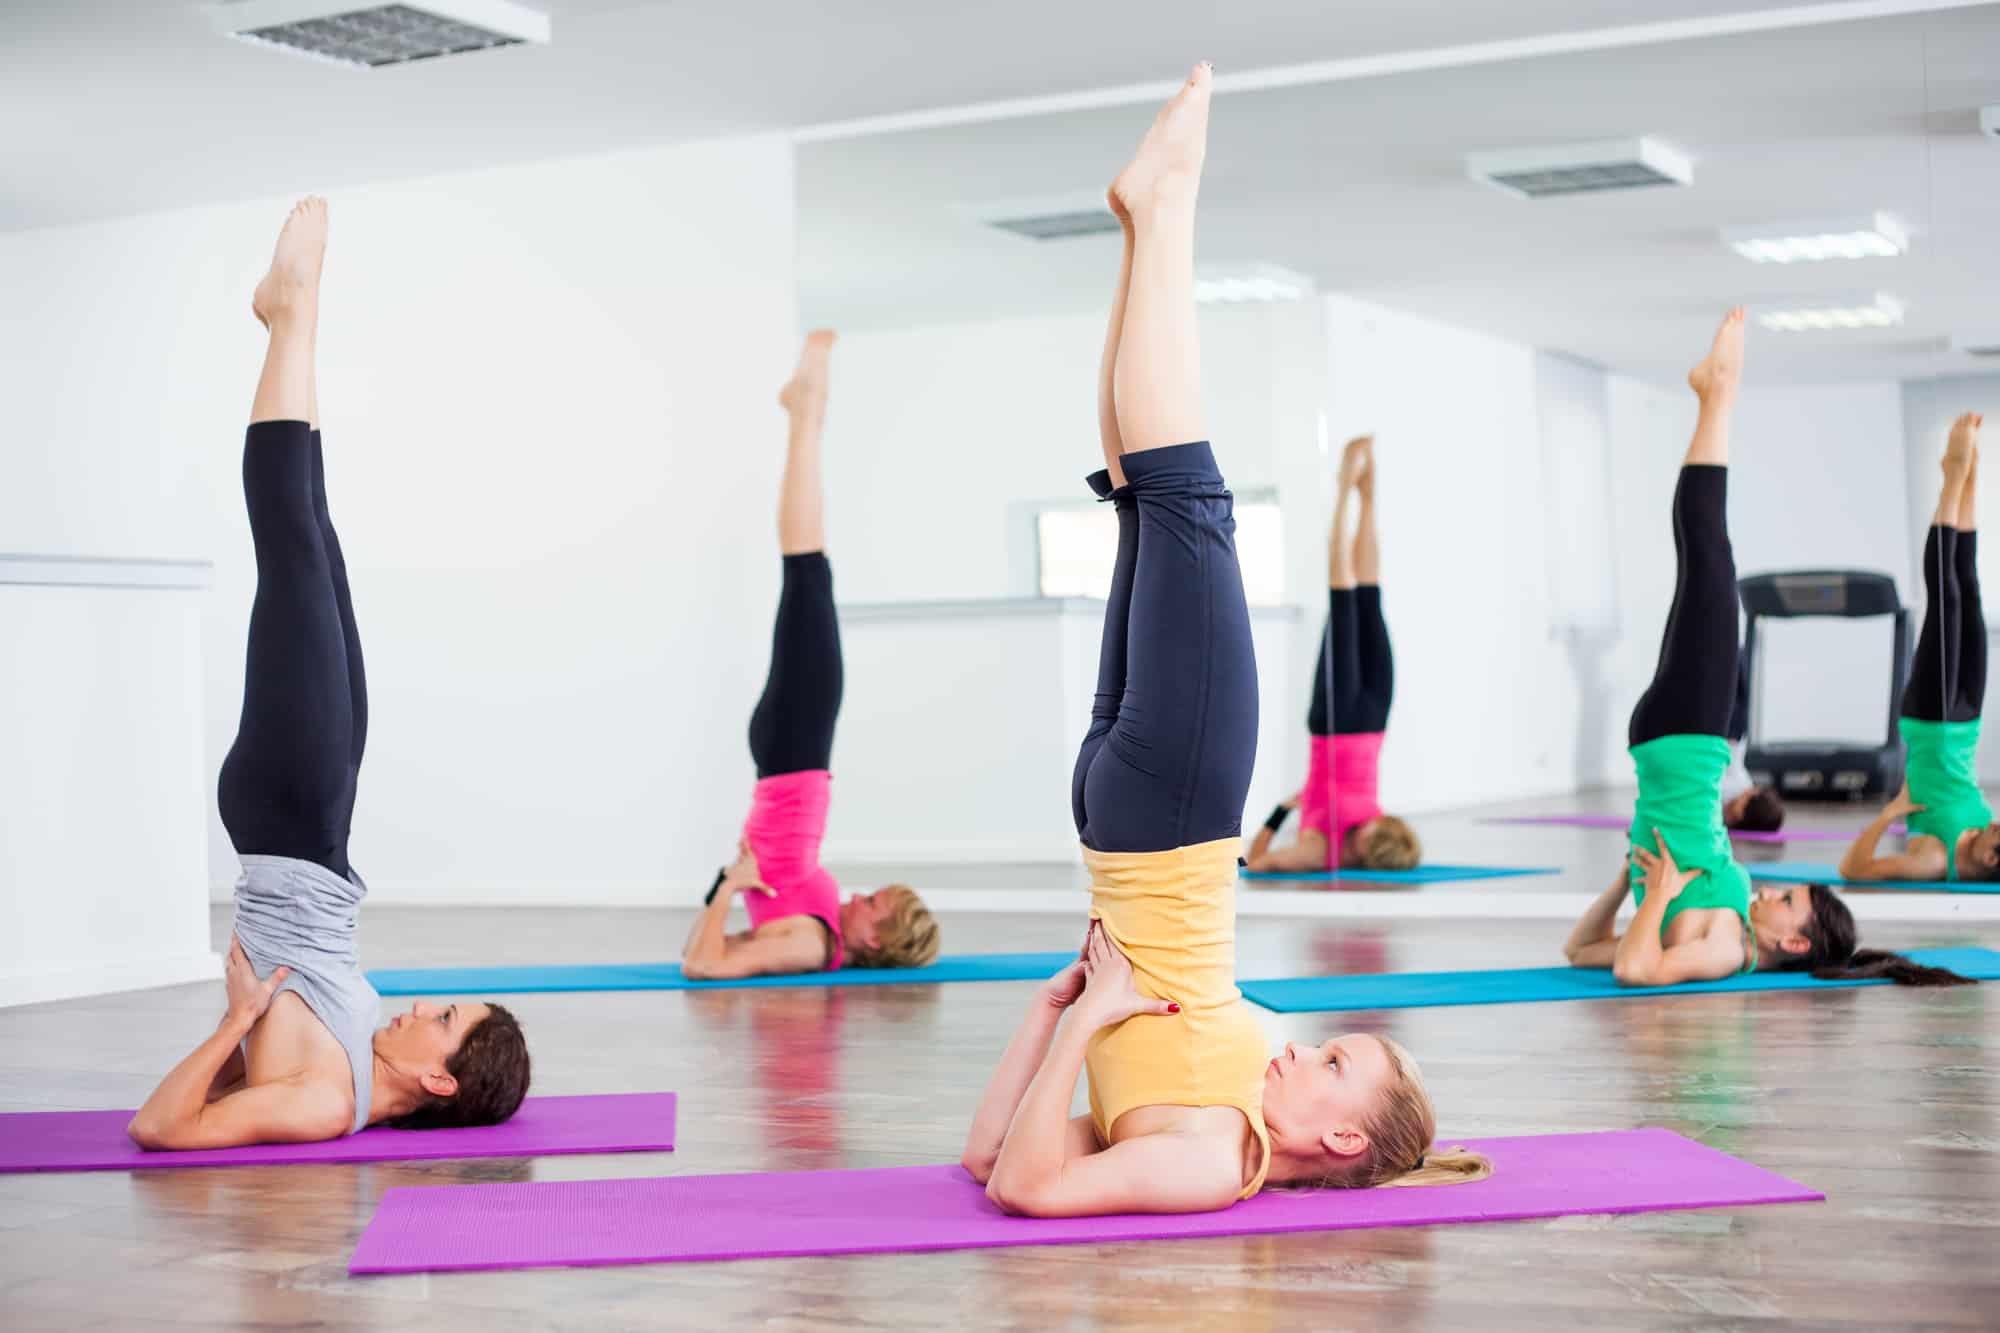
Shoulder Stand Pose
The next step after the previous position is the Shoulder stand. It requires more core strength and proper support of the shoulders. So, watch your neck and avoid putting all the load on it.
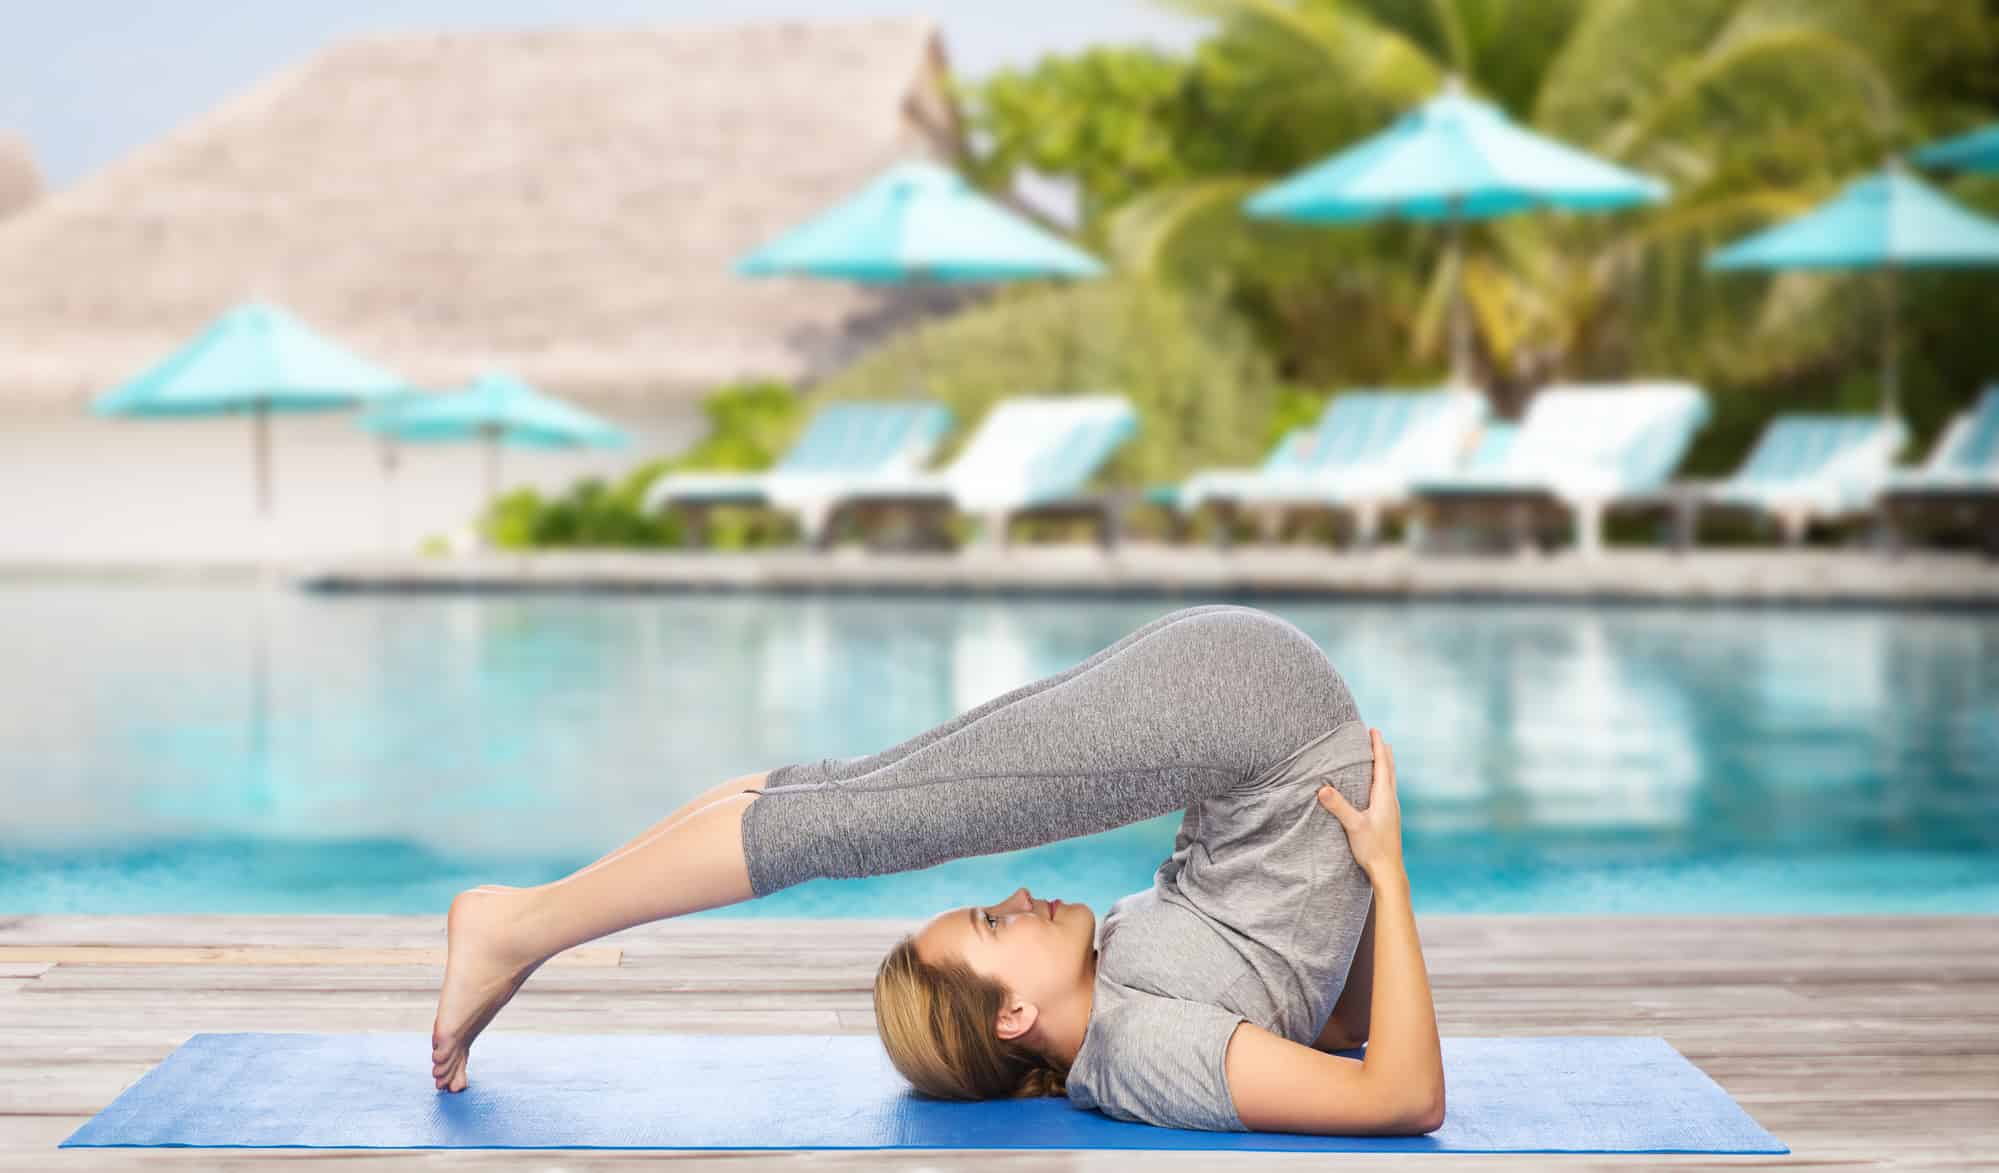
Plow Pose
And the final step is to get yourself into a Plow. Among the offered asana, this one is the most intense on the neck, so be sure not to turn your head to the sides by any means.
Use your hands to support the spine and slowly let your legs drop behind your head. Be mindful of your body signals. No pain, no gain – is not a moto for the Plow pose. So, if it hurts – get out of the pose immediately.
To return from it, start rolling your spine out on the mat as you exhale, pressing each vertebrae to the mat. Avoid dropping your legs on the floor abruptly. Instead, use your abdominal muscles to make a controlled movement and gently bring your legs to the floor.
How Do You Practice Yoga Inversions: Safety Tips
- Fall correctly. At first, you will be falling off your handstands. So, it would help if you were doing this without hurting yourself. Ensure your body is loose as you fall, try to tuck your neck and bend your knees.
- Don’t rush into advanced inversions. Move from simpler upended poses to more advanced ones. Forget about competing with your instructor or yoga guys in your class or Instagram.
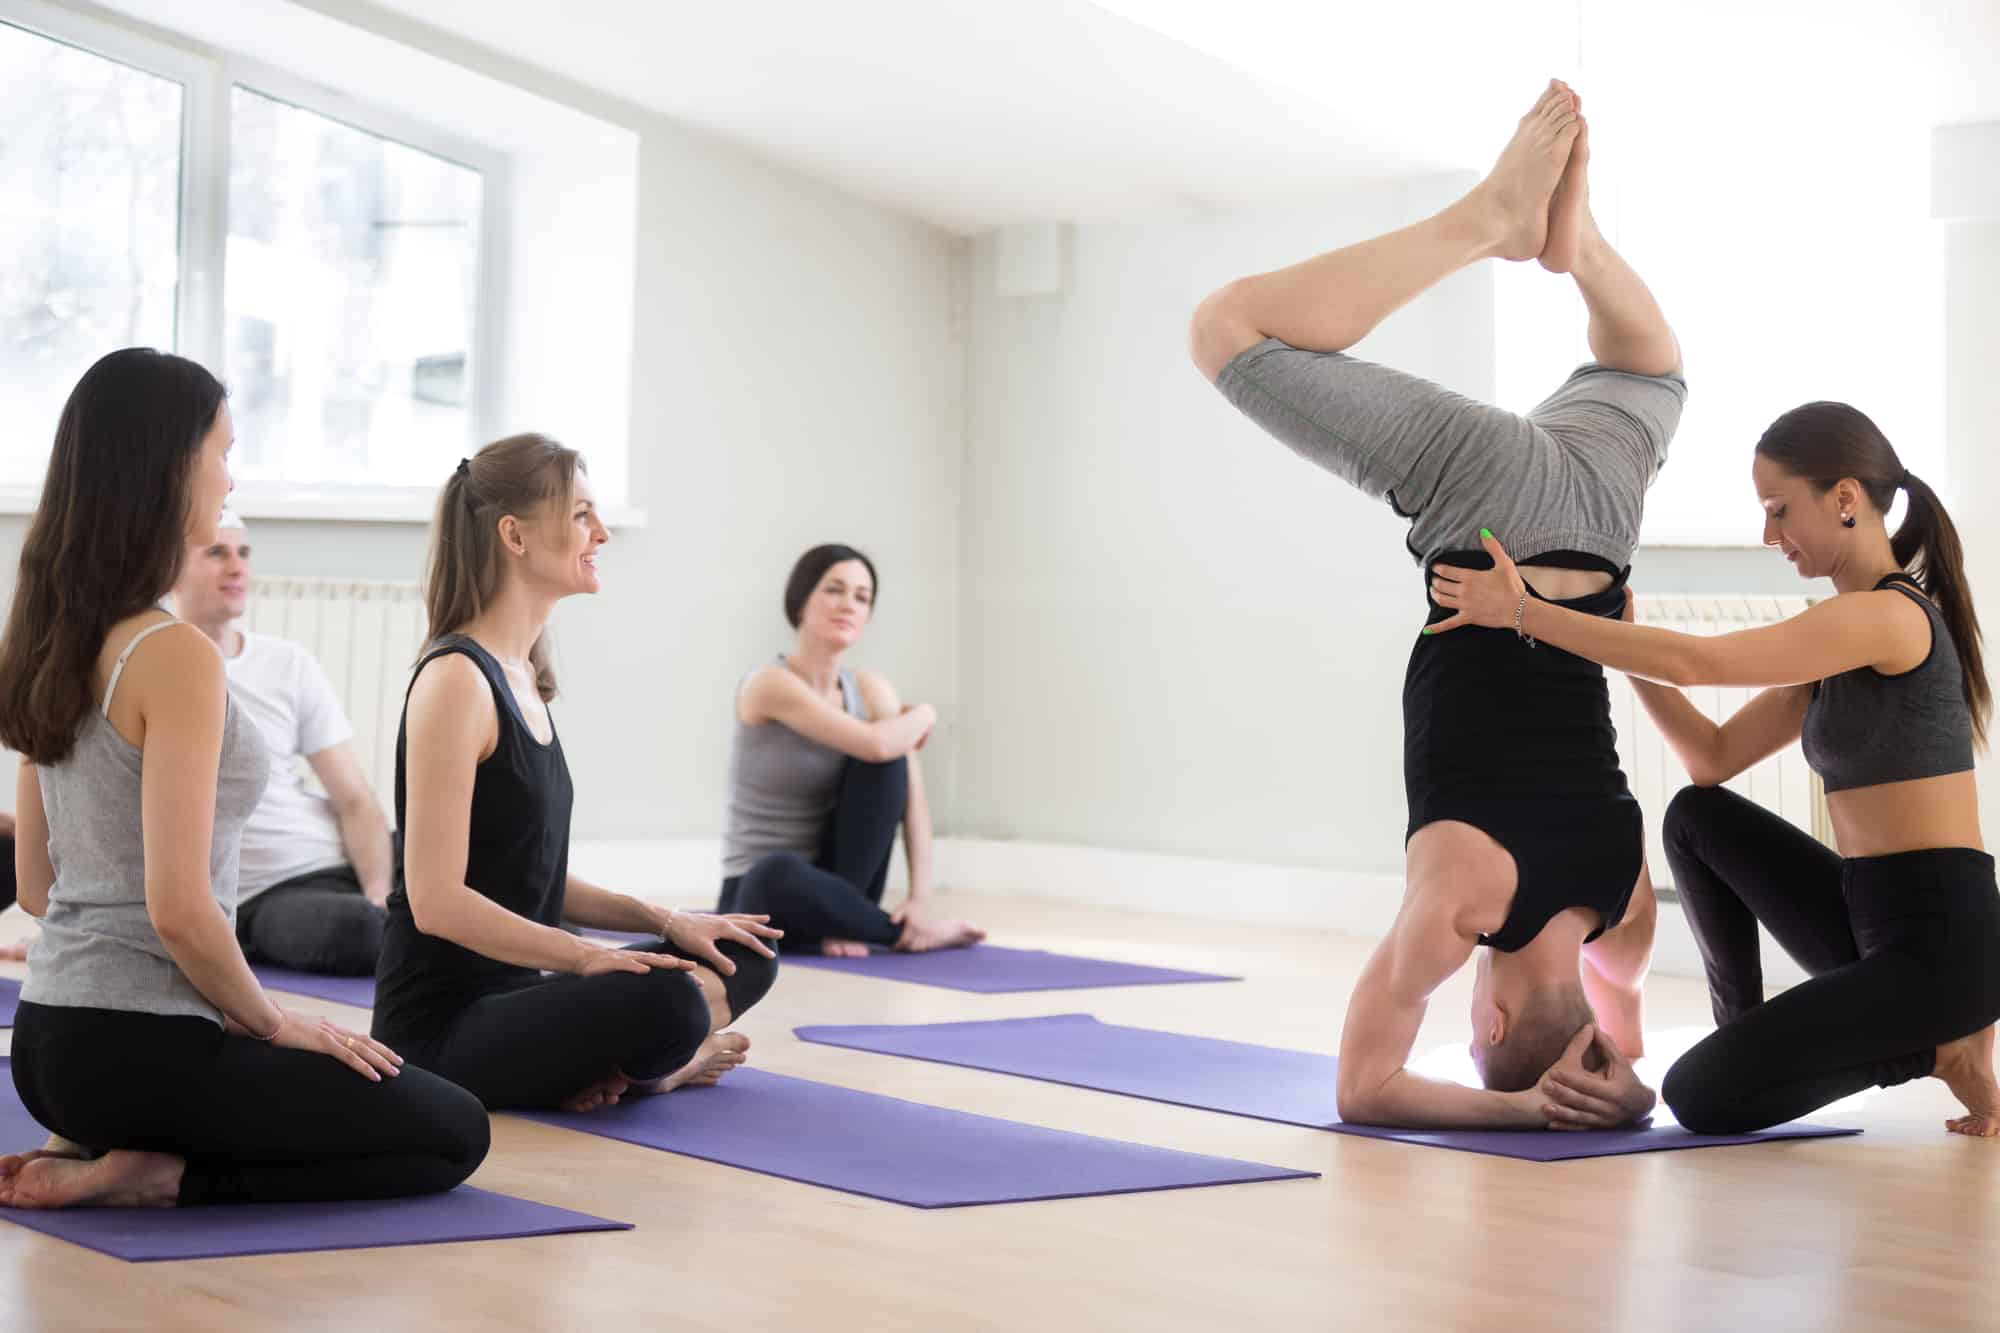
- Arrange support. In a yoga class, ask your instructor to stand next to you and guarantee safety as you get into the pose. If you practice at home, use a wall to back you up or ask a friend to support you.
FAQs for Inversions in Yoga
How Can I Tell If I’m Ready for Inversions?
Beginner’s inversions are available to all. To do something more advanced, check if you can lift your body upside down, controlling the move and the breath. The need to kick or jump into inversion means you are not ready to perform the advanced inversion yet.
How Long Should You Do Yoga Inversions?
Most of the beginners’ inversions are enough to hold for 30-60 seconds. The calming Legs up the wall pose – from 3 to 15 minutes.
What Yoga Is Best for Weight Loss?
More difficult variations (like Shirshasana, Pincha, Handstand, or Wheel Pose) are recommended to hold for at least 2 minutes. But if you just started practicing them, follow the principle of ahimsa e.g., “nonviolence,” and respect your body limits. So when your hands get tired – it’s ok to get out of the pose and hold it a little bit longer next time.
Are Yoga Inversions Dangerous?
As in any yoga pose, when done too early or incorrectly, inversion puts you at risk of mild and severe injuries. This can be neck or back trauma, strains, and joints injuries. Plus, anything that happens if you accidentally fall off the asana. So, be sure to get proper tutoring and enough training to practice advanced yoga invesrsions.
With all that being said, have an enjoyable practice and stay safe!