वीरभद्रासन
Vīrabhadrāsana: Virabhadra = the name of the mighty Warrior.
This Warrior pose variation is one of the most challenging if we speak of the balance. The number 3 at the end of its name cues that this pose is the third one, so you need to master previous Warriors first. The Warrior range allows you to gradually train your leg muscles and build stamina and confidence in standing balances.
I like Warrior 3 for the possibility of playing with the bodyweight distribution. However, balance is not always about solid stabilization but lightness, and I’ll explain why below.
How to Get into It
So, your sole is the grounding point for this pose. If by now, you are cool with the previous Warrior poses, no worries, your soles, ankles, and thighs are pretty vital to try balancing in Warrior 3 pose.
If you are impatient and trying to get into Warrior 3 right away, this still may take some preparation.
There are numerous ways to enter the Warrior 3 pose. You can get into it from Tadasana, High lunge, or Warrior 2, for example. But, first, I’ll explain the Tadasana option to make it worthwhile for new yogis.
Begin in Tadasana at the front edge of your mat. Press palms together in an Anjali (Heart) mudra. As you exhale, step your left foot back behind you. The distance is around 60-90 sm (2-3 feet).
Shift your weight on the right foot and ensure the right leg is strong and rooted into the mat. Scan the sole with inner attention to understand how the weight is distributed evenly.
Press through the ball of the feet under the big toe. You may even spread the toes wider. This will help to maintain balance.
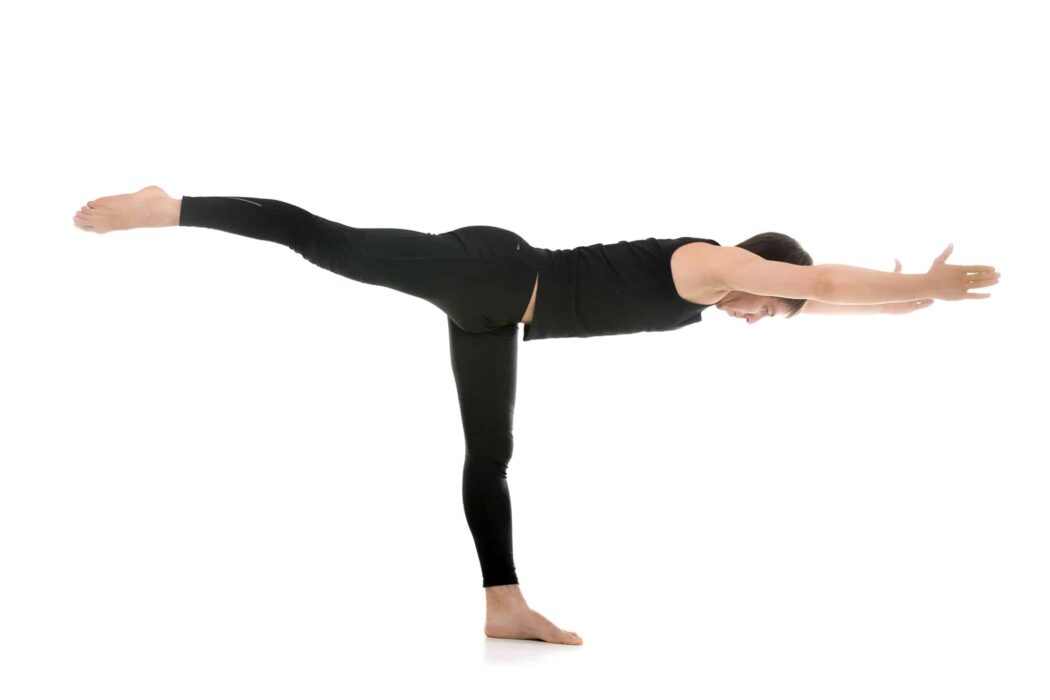
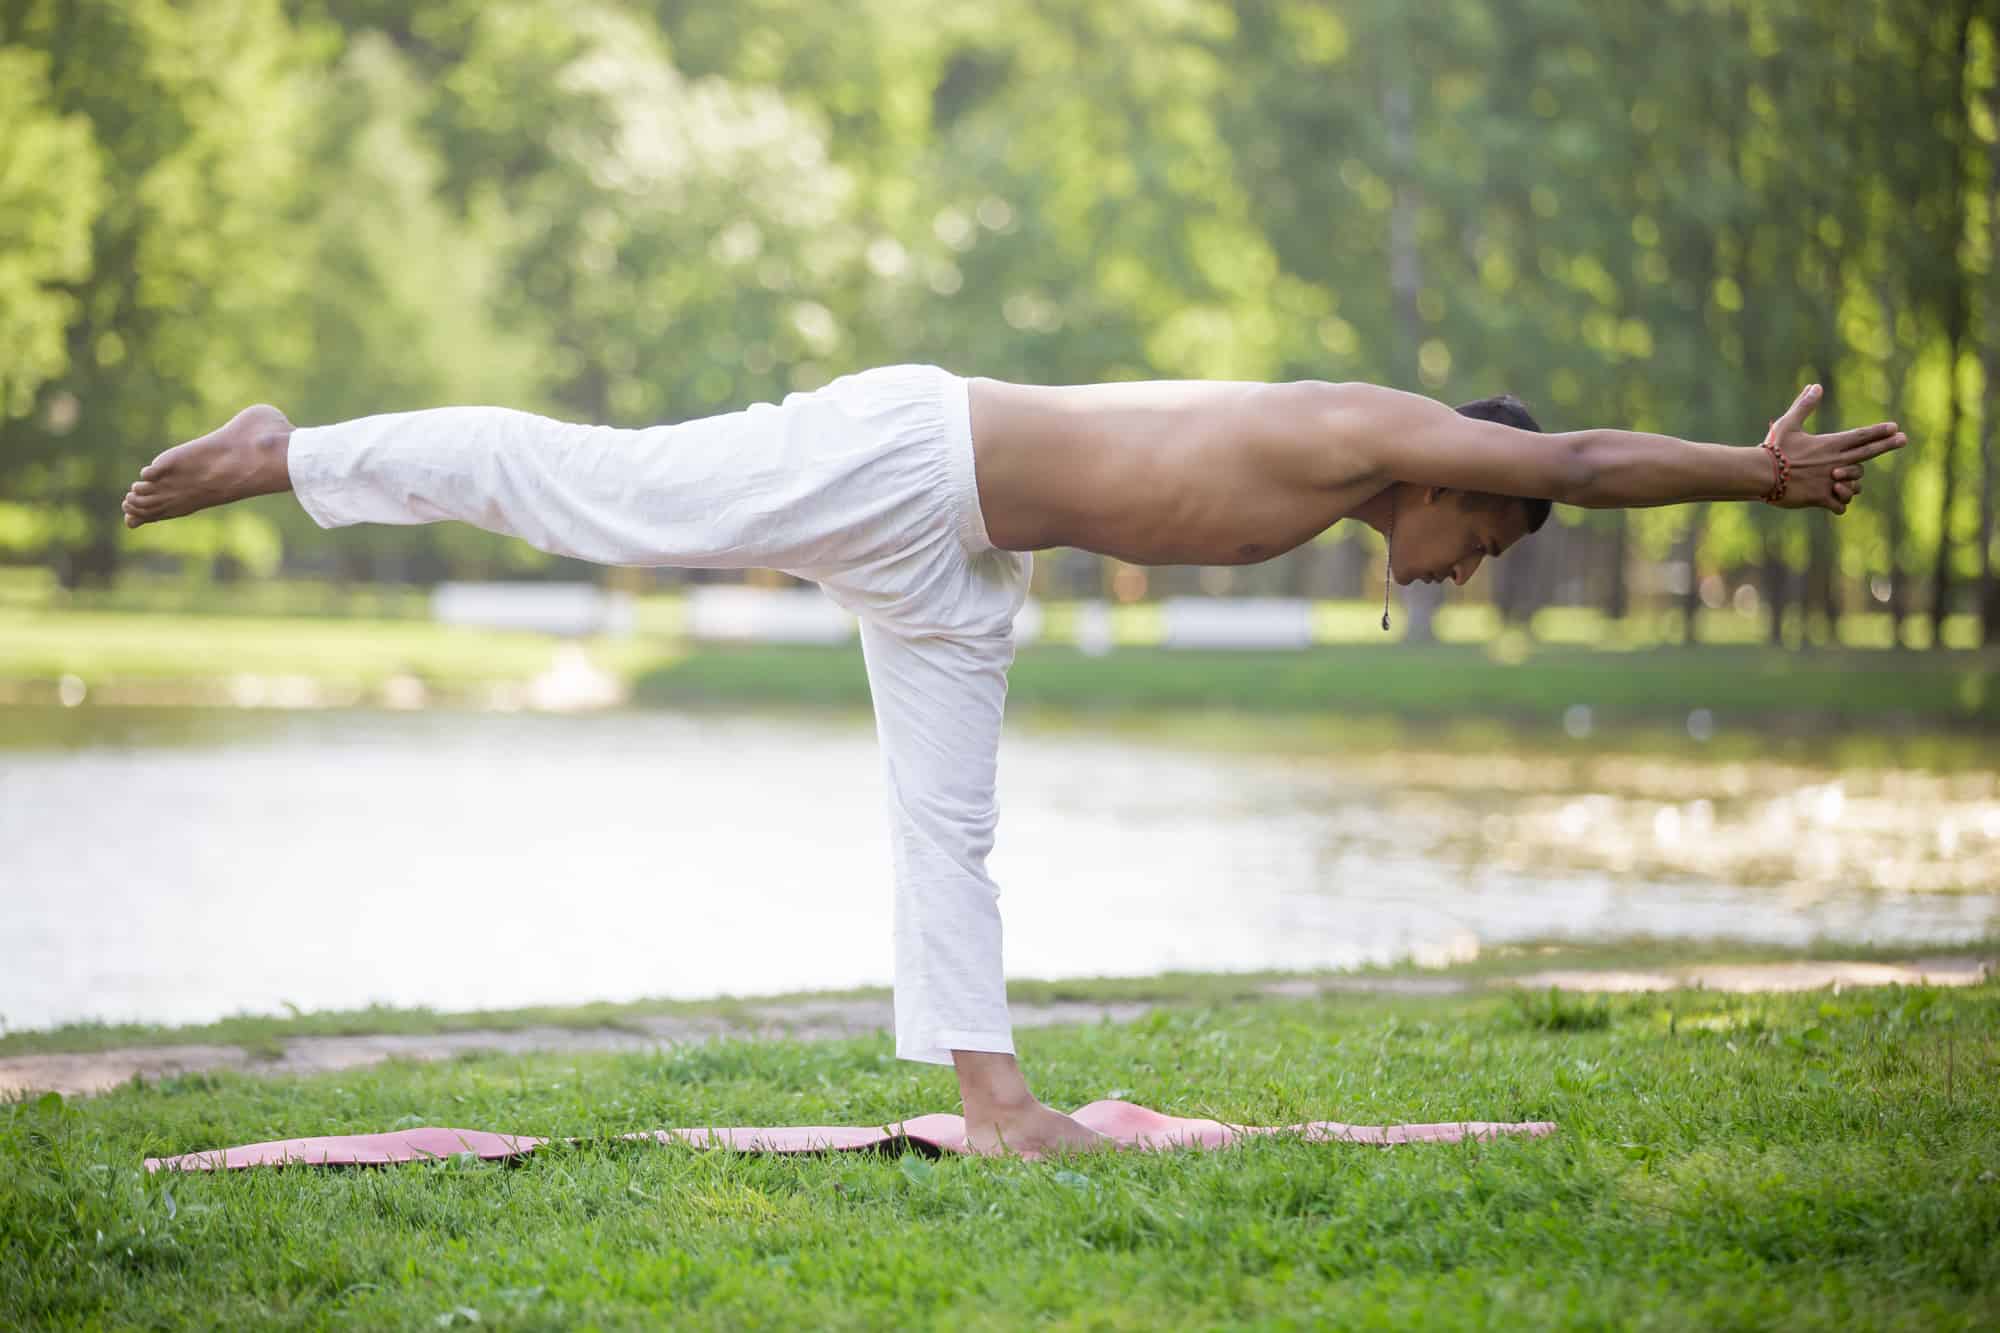
Once you’re grounded, on the exhale, start shifting your torso to the front. At the same time, lift the left leg. Avoid leaning the torso too fast when the leg is still close to the floor. Don’t rush to lift the leg while the torso is still perpendicular to the floor. Let this move be slow and coordinated. Go on until your torso is parallel to the floor as well as your left leg.
In the next stage, check the alignment points:
- Gaze. Find a point on the floor under your head and concentrate your gaze (Drishti) on it. Here don’t look too far forward to avoid excess tension in the neck.
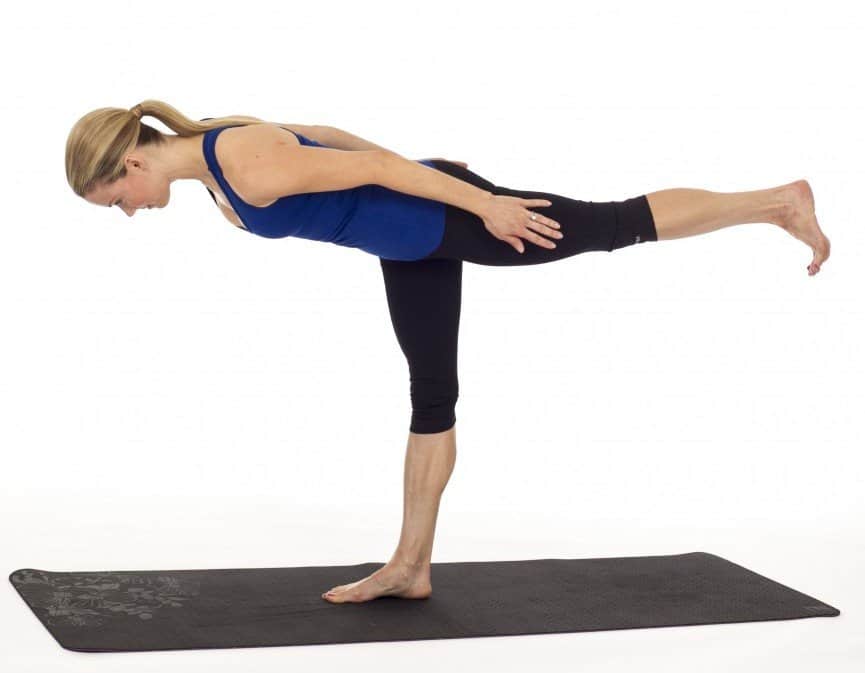
- Hands. You may keep them in Anjali mudra from the very beginning (that’s harder). Alternatively, you can put them on hip bones (that’s a more accessible option). For intermediate yogis, reach hands to the front with palms facing each other. Avoid squeezing the neck with the shoulders in this position. For that, pull your shoulder away from your ears and lengthen the neck. You can also point your chin to the chest (but don’t press it, only point in the chest direction). This will create a pleasant stretching sensation in the back of your neck.
- Hips. Square your hips and make your hip bones look into the floor. Don’t rotate the pelvis to the right or open it.
After you’ve made the adjustments:
- Focus on the lengthening from your left leg to the crown of your head.
- Lengthen your spine, release the shoulders (but don’t round the back).
- Expand your chest.
- For better results, use visualization of the expansion in your left hip, chest, shoulders, and neck.
At this stage, you may feel how your right foot actually works to hold the Warrior 2 form. If you have trouble standing on the straight leg, bend the knee a bit.
Hold this Warrior 3 pose for 3-5 deep breaths and transit to the starting position. This transition should also be smooth.
Benefits
- Improves muscle strength
- Creates integrity in the muscle work of the upper and lower body
- Develops concentration. Many practitioners report memory improvement with the regular practice of the Warrior pose.
Precautions
If you are pregnant, you should not practice this yoga posture.
Chronic injuries of the back, hip joints, knees, or feet are also contradictions for this pose.
If you have or are prone to chronic (or sharp) inflammation of spinal disks, please also avoid this asana.
Warrior 3 Tips For Perfect Balance
Modifications
Beginner: Traditionally, if you have started your practice recently, using yoga props for Warrior 3 is an option. These tips from Yoga international are really helping to get your Warrior 2 pose.
Advanced: Once your Warrior 3 is not swaying anymore, you can play around with hand position. Using airplane hands or Kali mudra is a good option for shoulders. If your shoulders are still tight ¬– practice Anjali mudra in Warrior 3 pose.
Airplane hands in Warrior 3 pose
Kali mudra in Warrior 3 pose
Common Mistakes
Hip position
When there is not much integrity between muscles, the Warrior form tends to fall apart. Very often, the hip of the left leg (or lifted one) turns to be not in line with the other one but higher. That’s something you need to fix: flex the foot of that left leg and point toes into your mat directly to get proper rotation in the hip. After that, drop the hip bone down.
Gaze
Make sure your eyes are not jumping around the floor or room you are in. That won’t be helpful for your balance. To fix your gaze on one point on the floor and hold it there.