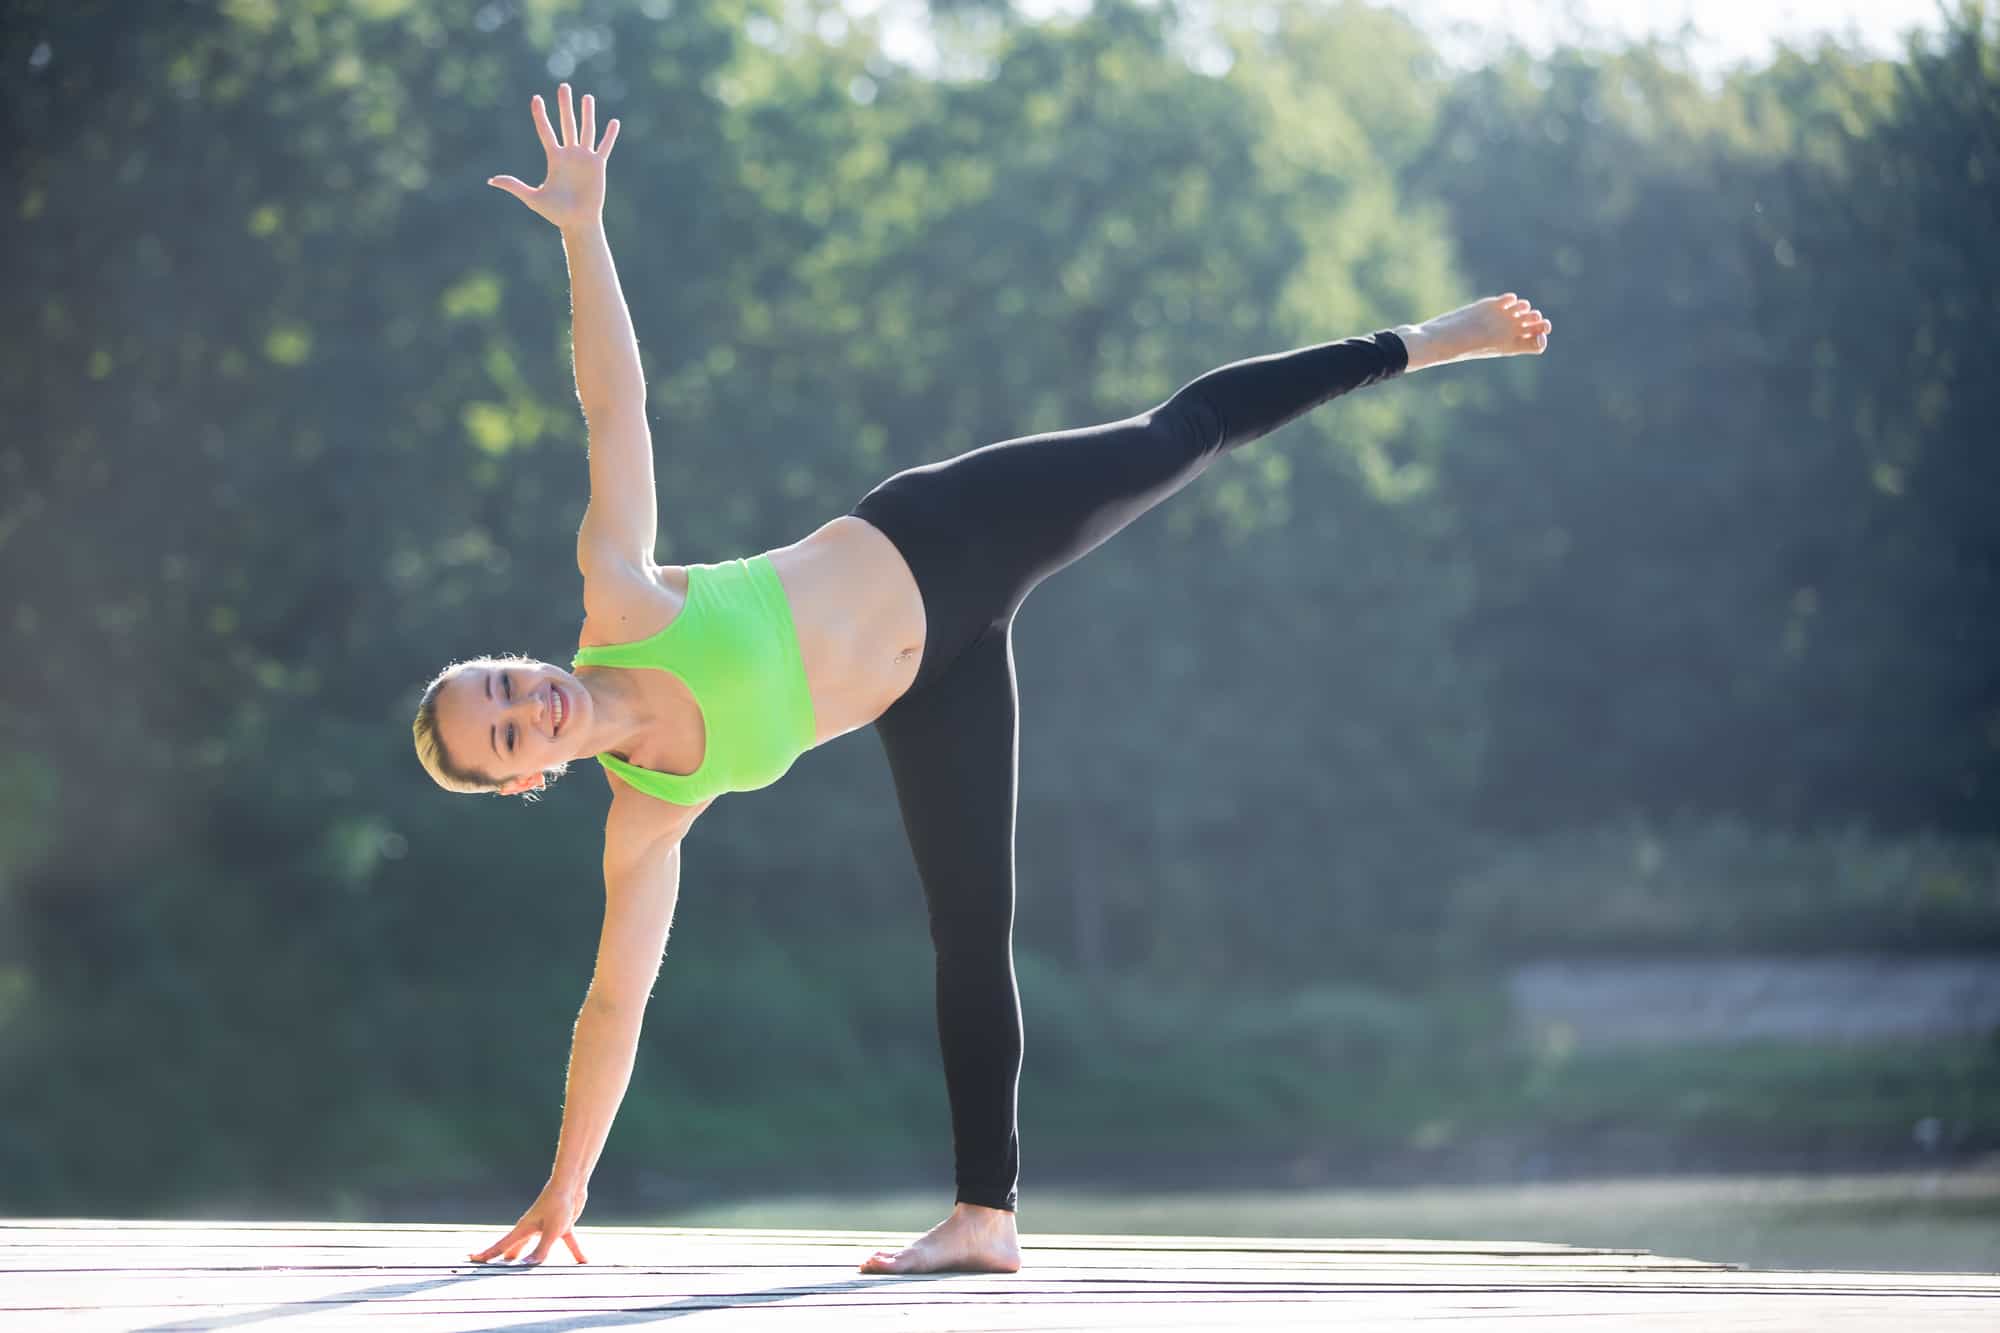
अर्धचन्द्रासन: ardha= half, candrā=moon
After you master more straightforward balances like Tree pose or Warrior, you can go further and try performing the Half-Moon pose and its variations. This pose requires your body to hold the balance while your feet are standing on one line. Doing so is impossible without solid legs, soles, ankles, and upper body muscles.
How to Do It
Depending on your practice, you can start from Warrior 2 pose or Trikonasana. Both options are ok. We’ll describe how to Half Moon pose from Warrior 2 position as it seems more accessible if your balancing skills are not polished yet. The only thing is that from Trikonasana, you will need first to bend the right knee and then perform the steps described below.
- From Warrior 2 (start with the right foot in front), put your left hand on the left hip and keep the shoulder line perpendicular to the floor.
- Next, lean the torso to the right and reach the floor with the fingertips of your right hand. Ensure that your palm goes a bit forward and is not directly under your right shoulder. Gaze down ¬– that will help you maintain some stability as you move through the pose process. When you get good contact with the floor and feel the support, take the next step.
- Shift the left leg slightly forward and lift it. Move the body’s weight on the right side, pressing the fingertips of the right hand and right foot firmly into the floor.
- Now, adjust the position of the left leg. Please pay attention to keeping it straight and toned. You may flex your feet firmly and engage the quadriceps on the left leg.
- At the same time, start to straighten the right leg (that was bent from the very beginning of this pleasant alignment process). Play around with your left leg until you find the best position for it and let it float behind you.
- As your right leg becomes straight, lengthen through the sides of the torso and keep the core engaged. Try to use upper back muscles to hold the straight line of the whole torso and left leg.
- If you are stable in the pose, take the left hand off the hip, reach up, and move your gaze to the left palm. Your hands create one line. If that’s too difficult, just keep the left hand on the hip. Stay in the pose for 3-5 breath cycles or more, and then repeat the same on another side.
Benefits
- This pose helps to engage big back muscles and small muscle-stabilizers into the balancing.
In addition, it gives you a solid core. - The asana allows strengthening legs (from soles to quadriceps)
- The longer you practice the Half-Moon pose, the more concentrated you will be. This balancing pose requires your muscles to team with each other so that they can hold the form of the asana. Plus, by doing this step-by-step alignment regularly, you’ll learn to be patient and persistent on your way.
- With this pose, you’ll get more muscular arms and shoulders, which improves the whole posture and helps release tension in the upper back.
Modifications
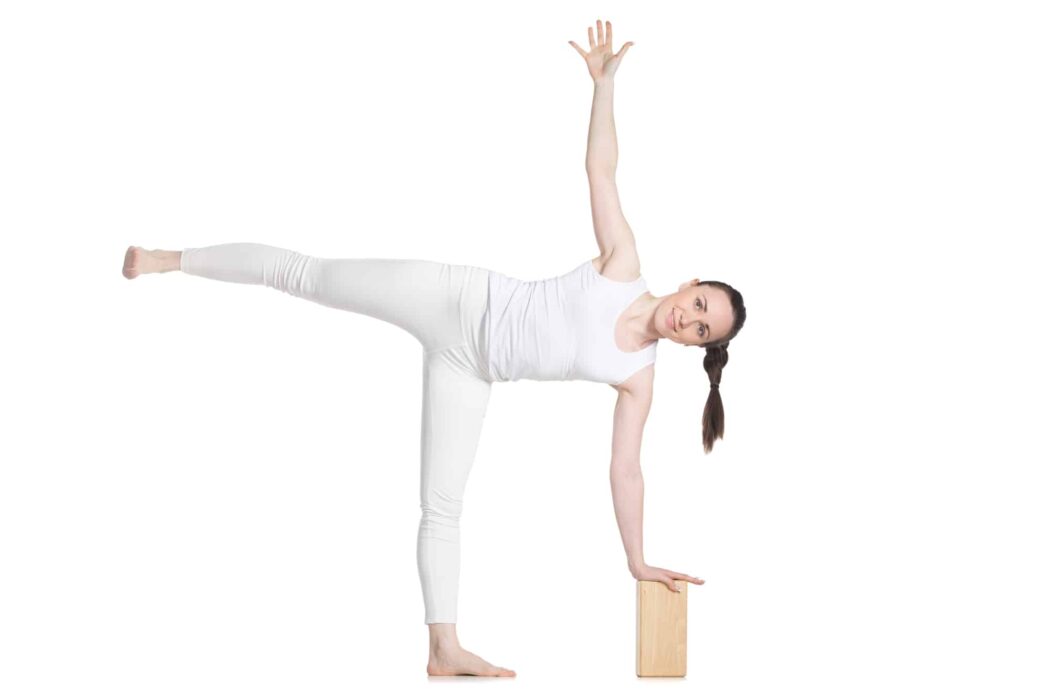
Beginner: Using a block or a chair under the supporting hand (the one that stands on the floor) can be a good idea for a novice. Also, you can try performing it next to a wall or do the different elements of the asana before you can get them in one form.
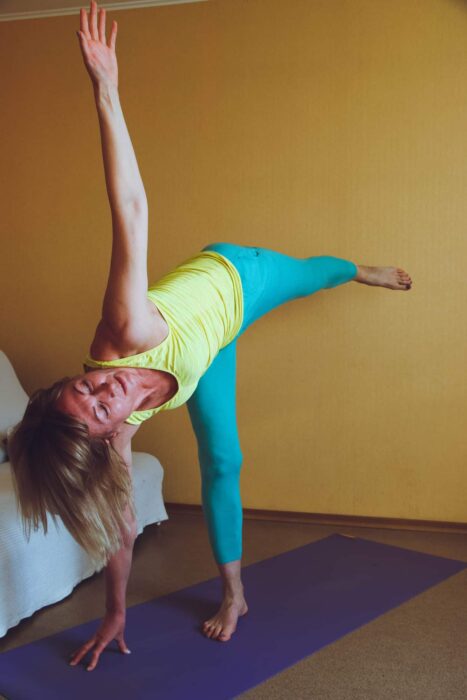

Advanced: When you feel confident in the pose, try taking the supporting hand off the floor. Start with a 15 -30 second duration.
Pair Half-Moon pose with other balances or include into sequences.
Precautions
The Half-Moon pose is not recommended if you have:
- Arthritis
- Osteoporosis
- Neck or knee and/or joint injuries
- Sciatica
Pregnant women should practice this position with caution if this asana was previously a part of their regular practice. It’s not advisable to start practicing it if you haven’t tried it before the pregnancy.
If you have neck pain when you gaze up, keep gazing down throughout the pose.
Common Mistakes
Try to form the straight line of your left leg (which is off the floor) and the left side of your torso.
Don’t lock the knee on the right leg.