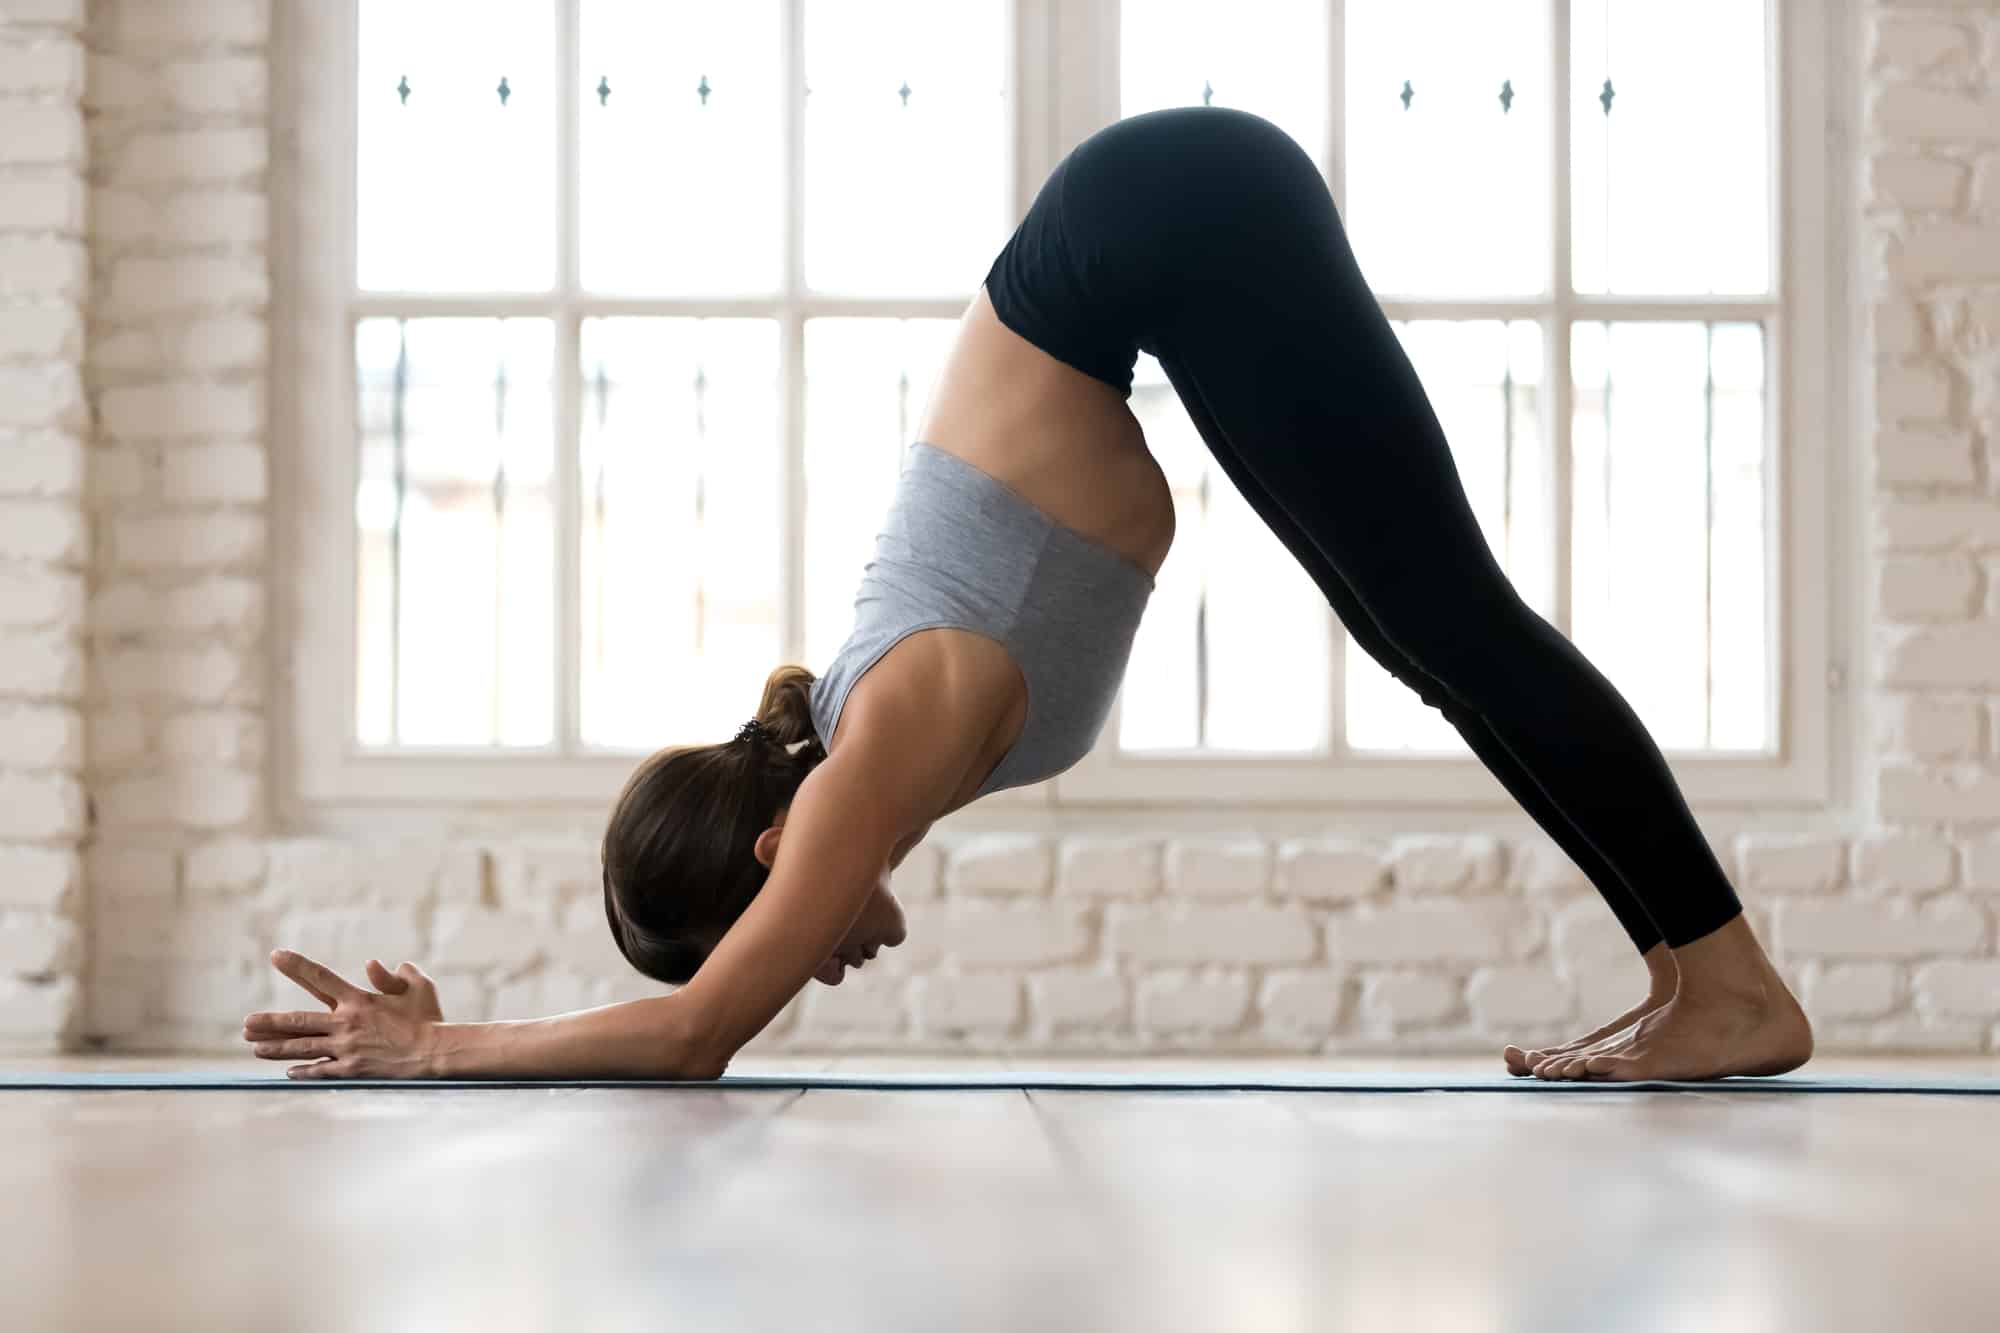
अर्ध पिन्च मयूरासन
Ardha = Half, Pincha = feathers, Mayura = peacock
This pose is also named a Puppy pose or Half feathered peacock pose. It’s a good preparation pose the inversions and an alternative for those who have issues with doing a headstand, or wrist injury and can’t practice Downward facing dog.
How to Get Into It
- From Downward facing dog, kneel on the mat so you are in a tabletop position.
- Put your elbows on the mat right under your shoulders. The distance between elbows should be equal to the distance between your shoulders. To check if this is fulfilled, cross your forearms and touch the opposite shoulder with your fingers while still keeping the elbows on the floor.
- Grounding palms and fingers is the key to the proper Dolphin pose. Spread your fingers and ensure you press the inner side of the pal to the mat. The thumb and index finger create a 90° angle. You imagine a line that connects the center of your elbows with these fingers – this will create the proper alignment and foundation for the Dolphin pose and handstands.
- As you inhale, lift your knees and try to straighten the legs. If doing this, your back is rounding – it’s ok to keep your knees bent.
Engage upper arms to keep the shoulders over the elbows. Press the forearms and elbows to the mat actively to prevent them from sliding. - Ensure your shoulders are away from the ears and create a space between your shoulder blades. Release the neck, try to relax, and lengthen neck muscles.
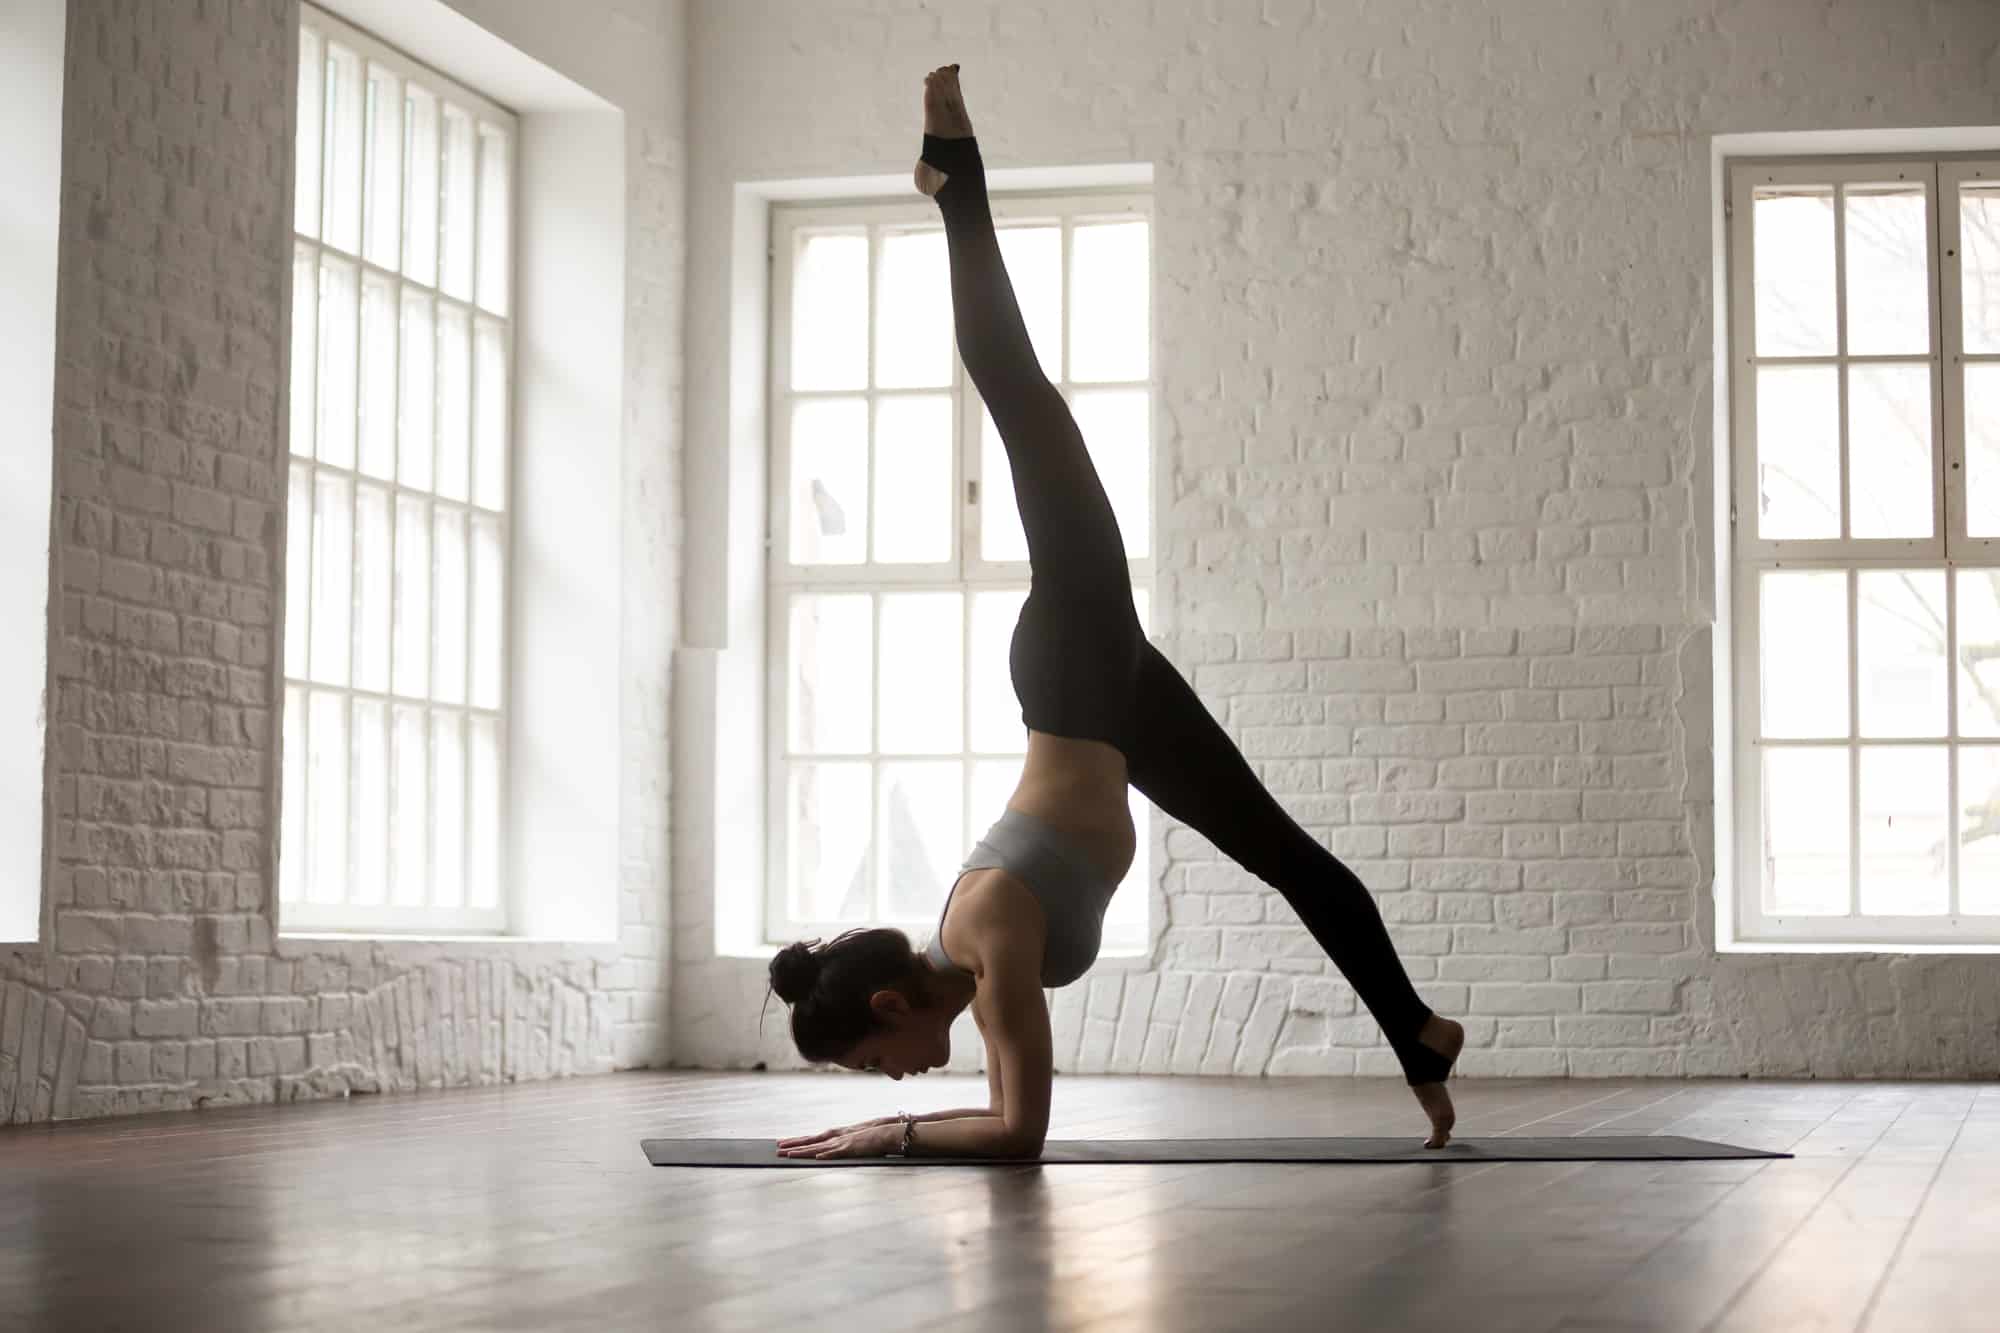
- Involve your legs into work. Engage quads to straighten the legs more. Push your heels to the mat until they finally reach it. Lift your hips and create space in the core extending the sides of your body. Hold the pose for several breaths: start with 3-5, and practice until you can hold the pose for 20 breaths.
Benefits
- Builds muscles in arms and shoulders
- Prepares your body for handstands
- Adds flexibility to your calves, hamstrings and activates the feet’ arches
Precautions
Should be avoided if you had a stroke recently
Not recommended for those with high blood pressure and shoulder injuries
Supported Shoulderstand (Salamba Sarvangasana)
Modifications
Beginners:
To get a stable palms position use a block. Place it in front of you on the mat so that its corners fit into the angle created by the thumb and index finger.
If you have tight shoulders, play with the palm position. Try practicing the V-shape position for the forearms, interlace your fingers. In this option, you can focus more on shoulder stretching.
Pro:
- Add some dynamic: lift on your toes and on the inhale and go down on your heels on the exhale.
closer to the hands and stay in static, or walk towards your hands and back. - Try lifting one leg at a time to get used to the handstand position.
Common Mistakes
Lowering your shoulders towards your ears is a common issue in this pose. This action puts extra load on the shoulders and squeezes the neck making the blood flow harder. To avoid it – push your shoulder blades away from your ears and set the neck free.
Arching the neck is another common mistake. The neck should be in line with the spine; the crown of the head points in between your palms.
Some people tend to place their elbows wider than shoulder-width, which puts more stress on the hand’s joints. To avoid this, ensure proper position of the elbows first.