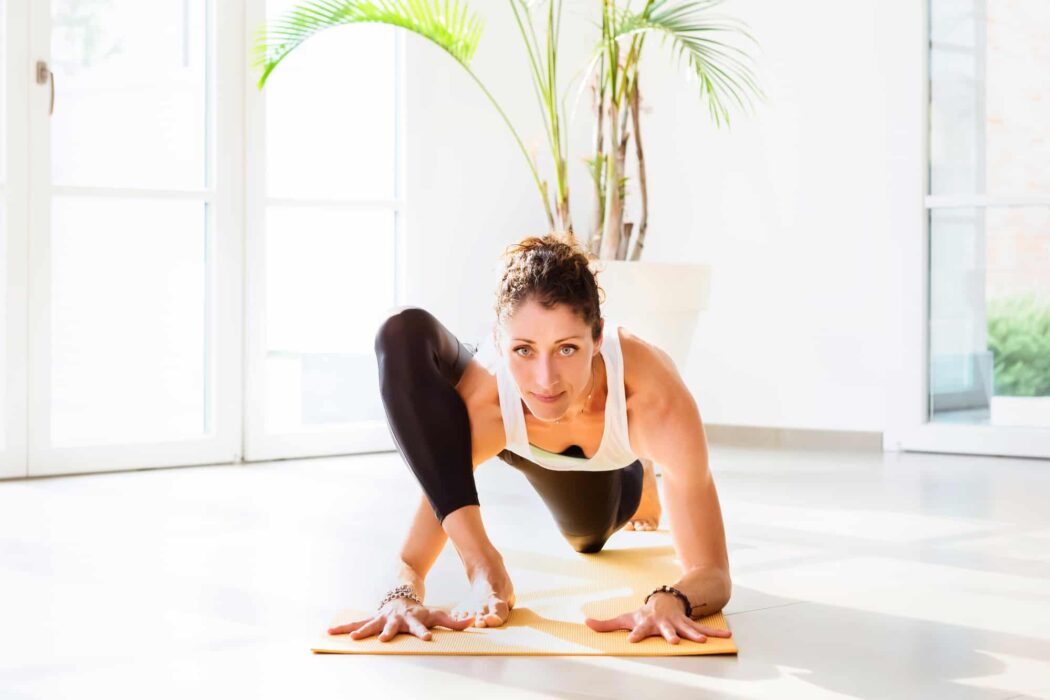
In yoga, there is a whole set of poses to deal with tight hips. And Lizard pose is among them.
Lizard pose targets your hip muscles and ligaments. This intense stretch helps to lengthen hip flexors (psoas, iliacus, etc.), quadriceps, and even hamstrings. Apart from physical benefits, the Lizard pose helps reduce stress and sleep better.
Plus, what can be more satisfying than a nice hip stretch at the end of a day? So, if you’re a long-sitter, find how to master a Lizard pose.
Good practice starts with the appropriate mood, so the two tips below will help you get into it.
Tune In
First off, get in tune with your body by taking a few deep breaths and settling down for the practice. No need to jump into Lizard pose right away from your office chair.
Doing Lizard as an individual pose or as part of any hip opening sequences – you’ll still need to prepare yourself for this training.
Some bouncing and wiggling also can help you shake off the mental stress and become fully present in your practice.
Warm-Up
Second, warm up the muscles for the Lizard pose.
Two to three rounds of regular Sun salutation are enough for your muscles and joints to be ready for the stretch.
Remember that Sun salutation is excellent to do in the morning. But if you do yoga closer to bedtime, you may want to replace it with some of the calming warm-ups like Moon salutation, for example.
Alternatively, you can use some other drills like this:
When You’re in the Lizard Pose: Use these Alignment Tips
#1 Ensure your legs are hip-width apart
For a proper angle between your thighs and pelvis – keep your legs hip-width apart when you do a Lizard pose. This helps to reduce any discomfort in the hip area as your hip joints are less compressed.
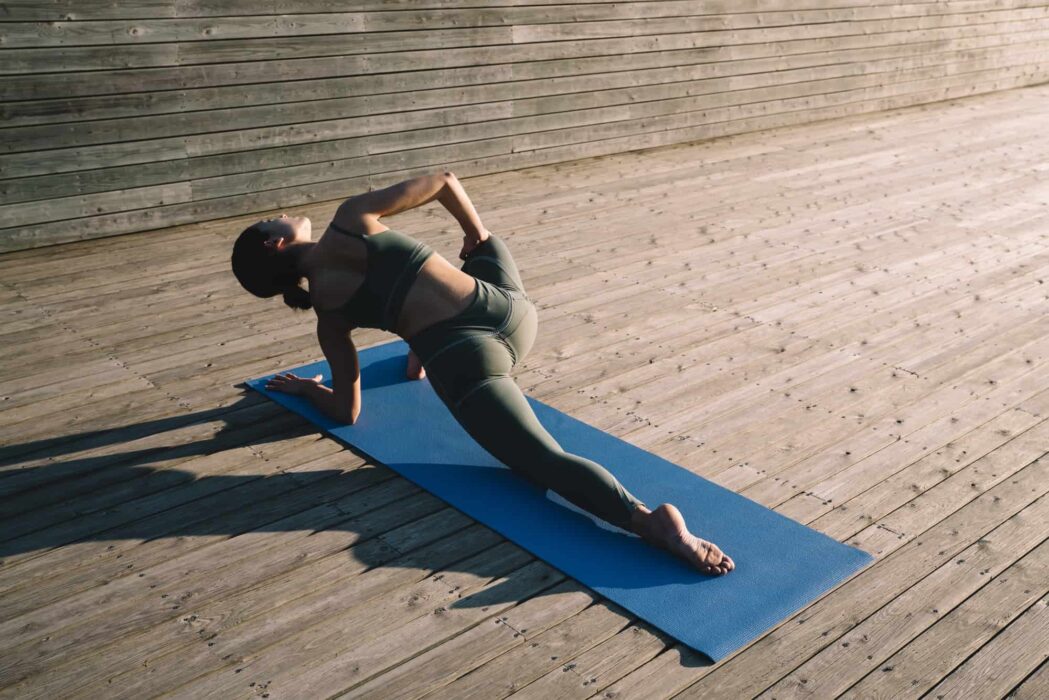
Intense Side Stretch Pose (Parsvottanasana)
Check the position of your feet visually: draw two imaginary lines that go through your hips and are parallel. Your soles stand right on those lines.
#2 Choose toe’s position
There are two positions for the front leg (right leg – if you start with the right one): with the toe facing forward or to the right side.
So, when your toe looks toward the front edge of the mat, you may feel some limitation for the hip. If that is the case – turn the toe outwards a bit. This small move allows more space for the hip joint.
Knee-friendly tip to remember here: keep the toe and kneecap aligned in one direction. Your heel is under your knee.
#3 Use body weight
Another important detail is how you use your body weight. If you have tight hips, try shifting your weight more onto the hands or forearms (if you can put them on the mat or block). Press your hands into the ground more. That will take off the load from your hips so you can stretch them smoothly.
#4 Long hold is not a way out
Some believe that making the asana more intense and holding it for longer makes it more effective. Others aim at creating the visual form and aesthetics without taking into account the body possibilities. But both are wrong!
Trying to hold the pose longer than you actually can leads to strains and micro-injuries in your muscles. The only thing that matters in yoga is your internal sensation in every posture you do, including the Lizard pose. Find the point where you can feel a sufficient stretch but still can relax and breathe. Listen to your body’s signals.
Warning: pain is a signal to stop doing the pose immediately!
#5 Props are your friends
Especially when you’re a beginner to a Lizard pose.

This asana gives your hips a very deep stretch, so you should make it safe. If you can’t reach the floor – lift the floor to make it closer to you! Grab a block or use your fingertips as you hold the Lizard pose.
The good idea is to place your back (left) leg knee on the floor to make the Lizard pose less intense for your hips.
#6 Don’t forget to use your spine
Although, Lizard pose is a hip opener, keeping your back rounded won’t do any good to you. You’re your palms on the floor; always remember to lengthen the spine and pull your chest up before you move further.
#7 Activate the whole body
After you feel enough space and comfort in your hips, actively press your hands and back leg toe to the ground as you lift the back leg knee off the ground. Sink your hips even lower to the mat and enjoy the nice stretch.
#8 Add some variety!
As time passes, adding some Lizard pose modifications can be a great choice. Mix passive stretching with active stretches for a better effect.
Your hip-opening routine may look like this: