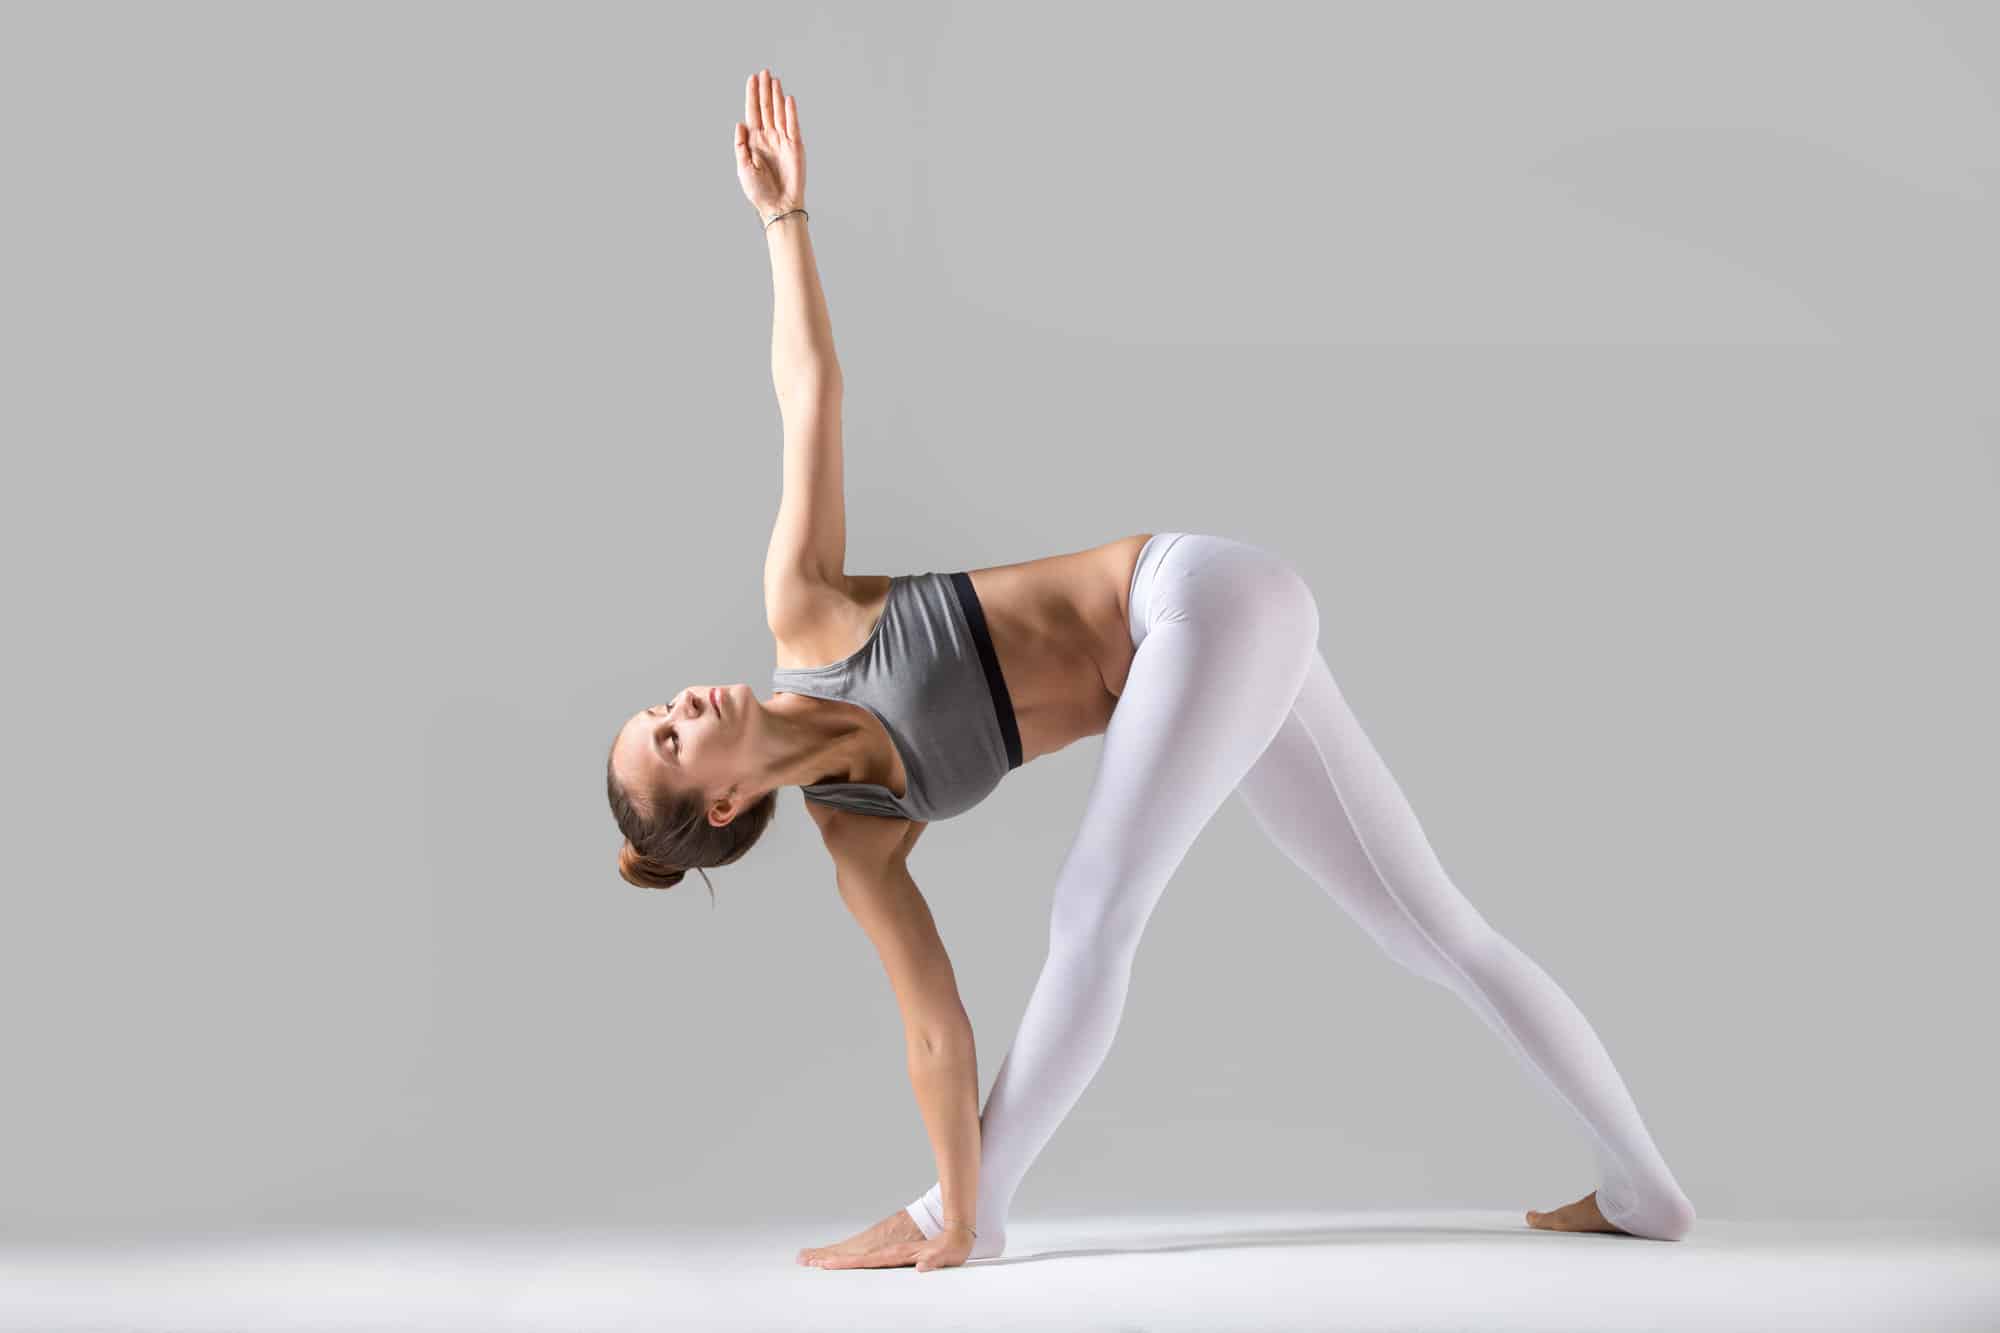
परिवृत्त त्रिकोणासन
Parivrtta Trikonasana: parivrtta = revolved, trikona = 3 angles or triangle
How to Get Into It
First, Your Right Leg
Start in the Mountain pose facing the front end of your mat. Hands are in Añjali Mudrā (payer’s gesture) next to your chest.
As you exhale, step or jump your feet apart to face the long side of the mat. Rise your hands and actively start reaching the side of your mat with palms facing down. Lengthen the spine and neck, relax your face.
Alignment Tip: Soles are wider than hips. The distance between your soles approximates 1 meter (or the length of your leg from heel to hip joint). Concentrate on grounding your feet. Check if the heels of both legs stand on one line.
With the next exhale, lift the toes on the right leg without shifting the heel from where it stands. And then, turn the toes 90° to the right and out so they are pointing to the shorter edge of the mat.
Now Your Left Leg
Lift the toes and turn them 45-60° inwards and to the right, again don’t move the heel.
Triangle Pose (Utthita Trikonasana)
After your soles are grounded, focus on your hips and knees. Rotate the right thing out so that your kneecap faces the same direction as your right big toe. Firmly press your left heel and feet balls to the mat, don’t let the heel lift.
Torso, Spine, and Pelvis
Next, turn your torso and pelvis to the right. Tops of your hip bones – ilium ¬– should face the right feet (or shorter edge of your mat).
Alignment Tip #2: To keep the left heel still pressed to the floor, turn your head slightly to the left as you turn your torso.
Lengthen the spine more as you inhale and lean forward, putting your hand on the floor ¬ as you exhale. Palm (or fingertips) reach the inner side of the foot for beginners, the outer side – for an advanced yogi. At first, use a block or chair if you can’t reach the floor.
Hands, and Other
Reach the right hand up and gaze up alongside the pal and fingers.
Alignment Tip #3: If you start feeling unstable and dizzy when you gaze up, turn your head down and focus the gaze in the middle of your right foot. Or keep the head in a neutral position.
Stay for 5-10 breaths and then release the twist and go all the way up as you inhale.
In the center, reach your arms to the short edges of your mat and use your feet trying to stretch the mat under your feet.
After that, turn to the left and repeat the asana.
If you are a beginner, watch a below video for cues:
Benefits
- A good stretch for hips, calves, and hamstrings to improve the range of moves;
- Builds strength in legs muscles;
- It gives better stability in balancing postures;
- Improves digestion;
- Strengthens core and back;
- Relives back pain.
Precautions
People with the below condition shouldn’t do this pose at all:
- Migraine
- Low blood pressure
- Back and spine trauma
The pose can be practiced under the supervision as a part of the after-surgery rehab program if it’s agreed with your doctor.
Pregnant women should also avoid doing this posture, especially in the second and third trimesters. In the primary trimester first, consult your gynecologist.
Modifications
Beginner: Use a block or a chair to support your arm. Perform the pose next to the wall before you gain enough stability.
Advanced yogi: Try this if you can freely put the hand to the outer side of your sole. So, when your palm is outside and is on the floor, press the forearm to the shin and use it as leverage to rotate the torso deeper.
Common Mistakes
Back Heel is Lifted
Most students tend to lift the back heel as they lean forward. Doing this breaks the balance of this form. So, to fix it, either use your attention and focus on pressing the back heel properly or place your back leg and heel next to the wall to maintain the alignment.
Bound Angle Pose (Baddha Konasana)
Shoulders are Hunched
This happens when you lose focus in the arms and move your upper arm to the front too much. Weak or shortened chest muscles (pectoralis major) can lead to hunching in the back and losing the asana form.
To fix it, use a block under the hand and try to push your shoulders away from the ground reaching the upper arm into the ceiling more. Plus, better rotation in the core can help you turn the arms perpendicular to the floor. Remember this and start rotating the torso from the pelvis and waist.
Forget to Breathe
As this posture is not the easiest one, many students concentrate so hard to keep it stable that they forget to supply oxygen into the body. So, while in the pose, don’t force yourself to go deeper; better play with the body’s weight to find balance and breathe.